Setting Up Your Payout Details...
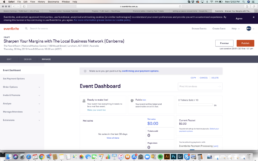
1. Go to your Event Dashboard for which you are charging for tickets. (Does not matter which – this is just for set up).
On the right hand side opposite the blue ‘Net Sales’ you will see the ‘Current Payout’ box. (This will not display if you only have free tickets available – you will need to setup your paid ticket type first before setting up your payout details).
Click the ‘Select Your Payout Options’ link.
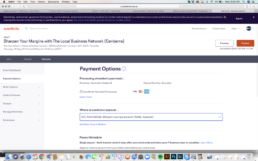
2. Below the ‘Where to send your payouts’ title Click ‘Add New Payout Method’.
*Please note this option is for adding your bank account details. If you prefer to use PayPal for your payout provider scroll down the page underneath payout schedule and you will find the option ‘Switch to PayPal’ under the ‘Add Options’ title.
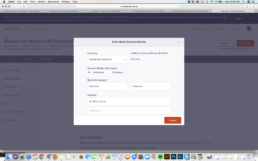
3. A pop up box will appear where you can enter your bank account details for payout.
Once you have filled in your details select ‘Create’.
*Please Note: Please be sure to select only your own payout method! You may edit your payout method at any time.
Charging for an Event
1. Scroll down to the Ticket Section of your Event under ‘Edit Event’. Click the ‘+ Paid Ticket button’.
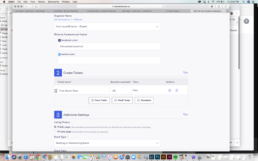
2. A dropdown menu will appear. From here you can set up your ticket including currency, GST options and your refund policy. Once you have created your ticket type be sure to delete the Free Ticket option by clicking on the trash can icon to the right of the ticket title.
* Please Note: If you are creating a paid ticket you will need to organise your payout options!
Event Templates & How to Use Them
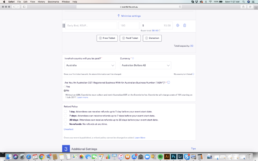
1. Under ‘Manage Events’ (from top right Nav bar as explained in previous tutorial) You will be able to access all of your Event Templates for the year. Find the Event that you are wanting to create eg. Four Futures. Under the Event Title Click ‘Manage’
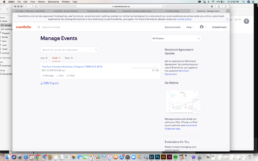
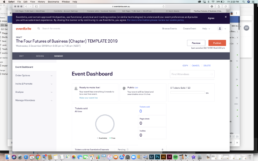
2. Next you will be taken to the Events Dashboard. On the right hand side click on ‘COPY’.
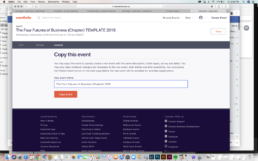
3. You’ll be taken to the title screen where you can adjust the name of the event. Delete ‘Copy of’ and ‘TEMPLATE’ & add your chapter name. Click Copy Event.
4. Next you will be taken to the Event Details Screen. This is where you add your address and other details.
*Important – select New Zealand or Australia
Event though the address is correct here on eventbrite it can sometimes be altered through facebook when publishing the event through the facebook/eventbrite integration in later steps. It is important to check that both addresses are correct after publishing to facebook.
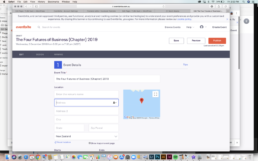
5. Scroll down the page. Next is the Time and Date of the event. Be sure to make sure these are correct before publishing.
The Banner and event info is set and is not able to be edited – please email Sarah with any queries. You may add parking details etc. if needed at the bottom of the copy under event info.
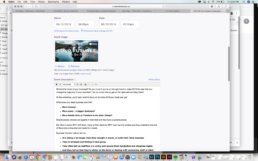
6. Next is setting up Organiser Info. The Organiser info is preset for you by Sarah.
If you are setting up a stand alone event – Four Futures or Online Marketing you will need to select the organiser role ‘Your Local Director – Your Name’
If you are setting up a TLBN event select ‘Your Name – The Local Business Network (Chapter)’
Depending on which of your two organiser profiles you select, this will determine which url your events are hosted under which is connected to many chat so it is important to get these right!
!
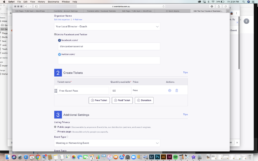
7. Creating Tickets – There are 2 options here for Free Tickets and Paid Tickets…
If you are hosting a Free Event then ‘Free Guest Pass’ Tickets are already set up for you – All you need to do is click the Gear Icon to the right of the ticket type to open up the Ticket Settings.
If you are hosting a Paid Event skip the next step.
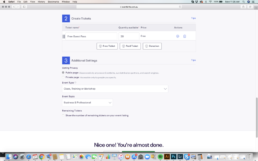
8. After clicking the Gear Icon a dropdown menu will appear…
Scroll down to where it says ‘Ticket sales start’ – Make sure that this date is set to a date before or todays date. Then go to ‘Ticket sales end’ below and set this to the day of your event and a time before your event begins. Go to step 11.
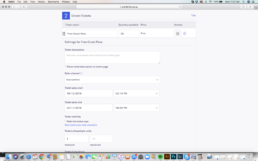
9. If you are creating a paid ticket Click the button titled ‘Paid Ticket’. A dropdown menu will appear.
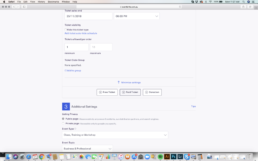
10. Here you can adjust your ticket price (please note Eventbrite charges a fee for paid tickets – this will be added to your total ticket price which be displayed below). Fill out the questions, set your currency and set your Refund Policy. Your paid ticket is good to go!
*Once you have set up your paid ticket option be sure to click the trash icon next to the above Free Guest Pass option.
**On last check of event after saving/publishing/previewing be sure that the correct ticket type is displaying.
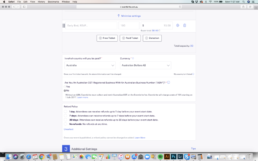
11. Scroll down to Additional Settings. These should be set up already but just incase ensure that they are set to ‘Class, Training or Workshop’ under Event Type and ‘Business & Professional’ under ‘Event Topic’.
From here you can either ‘Save’ your Event to Publish at a later date or ‘Make Your Event Live’ to publish now. If you publish now please follow through last steps from ‘How to Publish a Draft’ for how to publish the event to Facebook.

How To Publish Event Drafts
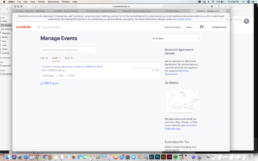
1. Log into your Eventbrite Sub User Account. Go to Manage Events (Access from the top right hand corner icon dropdown menu). Select Drafts under the Search Bar.
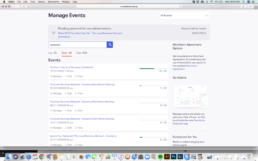
2. Find the Event you would like to publish. Click ‘Manage’ beneath the corresponding title.
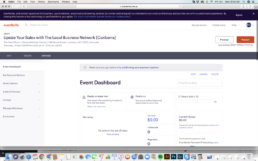
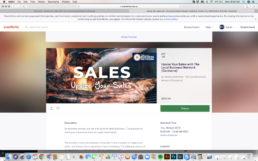
3. In the top right hand corner Click the button that says ‘Preview’. You’ll be taken to a live preview of your Event on Eventbrite. Check that all details are correct then click ‘Close Preview’ at the top of the page.
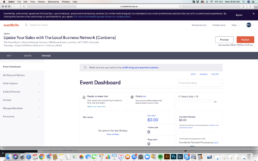
4. You’ll be taken back to your Event Dashboard. If you need to edit your Event you are able to do so by Clicking ‘Edit’ in the Top Left Nav Bar under your Event title. If your Event is ready to go live Select ‘Publish’ in the top right of the screen.
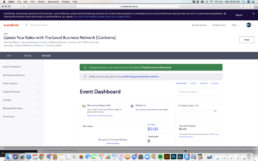
5. Your screen will refresh and you will see a similar notification to the one shown on the screenshot. You may see a pop up asking you to ‘Publish Your Event to Facebook’ – If you see this select ‘Publish’. To manually publish your Event – Click on ‘Invite & Promote’ on the left-hand sidebar menu.
6. A dropdown Menu will appear… Click ‘Add to Facebook’. The Add to Facebook page will appear. Here you can edit your details for Facebook (you shouldn’t need to as they should be the same as your Eventbrite details). Make sure you Event title is correct and then below under ‘Facebook Page’ you will be asked to login to facebook (if you are not already) to allow you to select your TLBN Chapter Page from the dropdown list. Once these details are correct Scroll down to the bottom of the page and click ‘Publish’.
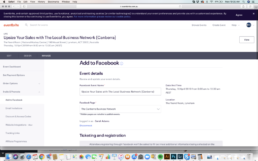
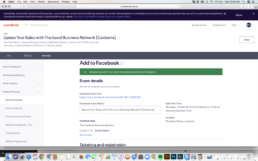
7. You will be shown a confirmation that your Event has been published to Facebook correctly. Sometimes you will have issues will the Event Venue Address and may have to edit before the integration between Eventbrite & Facebook is allowed to happen.
8. Last step is go to your TLBN Chapter Page on Facebook and ensure that the Event details are correct – Venue details can occasionally be updated during the integration so it is important to double check that they have published correctly to Facebook.
To access your Events page go to www.facebook.com/yourusername/events… Your new Event should be displaying in the ‘Upcoming Events’ section.
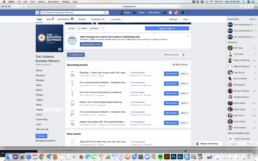
*Please Note: You have the option to publish the years events to facebook in one go or do so in batches eg. quarterly. When you publish Events to facebook though please be aware that it will send out a notification in your followers feeds for the events – this will only occur once but it can result in people seeing events several months ahead in their newsfeed rather than the next upcoming event – not a big issue but can result in future events being booked instead of upcoming. If this may be a problem for you we suggest publishing your events quarterly.
Sub User Account Set Up
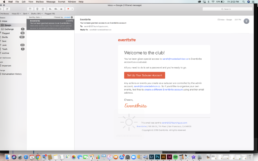
1. Upon on boarding you should receive an email similar to the one shown below. From here click the link to ‘Set Up Sub User Account’.
2. From here you’ll be take through to a screen where you will be able to create your own password.
* Please note only you will have access to this.
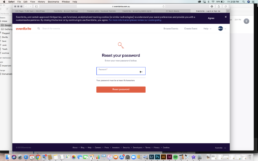
3. Once you have setup your password you will be able to login to your sub user account. You will be taken to the home screen. In the top right hand corner you will find the nav bar, Hover over the Person Icon and a dropdown will appear. Click ‘Mange Events’.
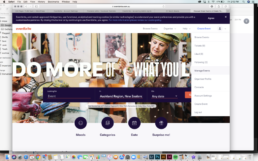
4. This is where you will have access to your Event Templates for the year including Online Marketing, Four Futures & TLBN Events.
* Please note that there is a specific template including Banners & Logos for each event – these have been created specifically and all info is to stay the same to ensure brand consistency across the board.
From here you will be able to duplicate events and add your time and address details. Please refer to next tutorial for this 🙂
Sharing A Post
Facebook constantly changes its restrictions around posting and sharing on business pages walls. To bypass any of these restrictions or if teh business owner is having trouble sharing to their page here is a quick guide on how to share your business feature to their wall. *Please note they will need to do this from their end.
1. From the Business Owners Device (logged into their account) find the post you are wanting to share on your TLBN Page. It should look similar to the example opposite. Click Share down the bottom right hand corner (If using a mobile this may look a little different, look for the arrow icon before the ‘Share’ on the bottom – this should point you in the right direction.)
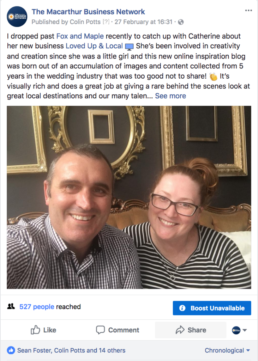
2. Once you click on the ‘Share’ button a drop down will appear. The Business owner should select Share…

3. This will open a new window. Select ‘Share on a page you manage’ . Once you have selected this option to the top right of the box you will be able to select which page you would like to post the too. The business owner would from here select the corresponding business page to the business feature.
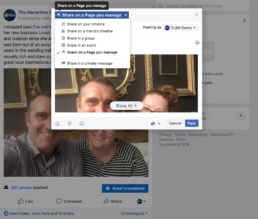
4. Before you share the post you will be given the option to write a pst in the text box above. This is where the business owner could say Thanks for the post or great to catch up with etc. and give you Local Chapter a shout out and also suggest other businesses get in touch with your for a business feature of their own. Be sure to retag their business page and your own in this part of the feature. Lastly click post (Bottom right corner) and check that everything has posted correctly.
* Remember this will post the business Feature to the Business Owners FB Business Page.

Using Facebook Messenger
Facebook Messenger is a powerful app on facebook. Infact more people interact via messenger than on facebook itself so it is important to use this to our advantage.
1. Create a CTA for followers to message you. Click on the ‘send messages’ button below.
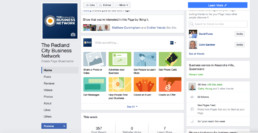
2. This will open a pop up box. Write a catchy post inviting followers to message you. You can also add an image to this rather than the default cover photo to catch peoples attention. Be creative! This post is important as you are not able to instigate a conversation as your business page. You are only able to reply to a user once they have messaged you. Please refer to the messenger help PDF for more info on this.
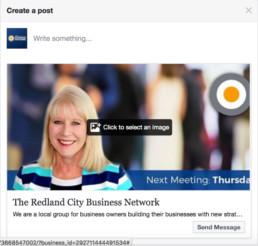
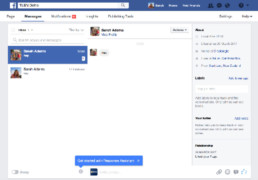
3. When you receive a message it will go to your Facebook Messenger Inbox. You will receive a message in your notifications on your personal facebook account (see image 1.) and also it will appear in the top controls of your TLBN Facebook page (see image 2.) If you click either of these you will redirected to your messenger inbox.

4. Once you have been taken to your messenger inbox then you have the opportunity to reply directly to the person who has messaged you. You may also view their profile under the ‘Actions’ dropdown which may be worth doing especially if it is a business page. If it is, Like the page while you are there.
How to directly message a business or person.
As mentioned in the previous pages you cannot directly message a person/business as your TLBN Business Page but you can as your personal page. So this means that if you do message from this account the recipient may be able to see your personal page so it is important to understand and accept how this works and what it entails. If you would prefer to have a seperate business personal profile to operate your TLBN page from this is ok – just let me know. Bare in mind though taht this can be hard to manage 2 accounts and keep on top of it all. Also it can be helpful for people to see you have a personal page which is actually you and help to further build trust between you and them.
- You will recognise some of these steps from Build # 5. First you need to search for the business page or person you are looking for in the search bar in the top left of your page. Alternatively if you are inviting a like from a post from another businesses page you will need to click on the person and go to their profile. You may add them a friend if you like but more importantly we are looking for the ‘message’ button. Adding them as a friend I would suggest is a secondry thing after you have made contact and had a successful conversation. Click the ‘Message’ button.
2. Once again this will open a messenger box. This is where you can type your message out and paste a link at the bottom on the conversation that they can click to like and view your page. Be conversational in your message and mention how you found them eg. I saw that you liked our shout out with business x and though maybe you would like to follow our page.
Drafting A Post
1. Start creating your post at the top of your Page’s timeline.
2. Click the dropdown arrow next to Publish. Select ‘Save Draft’.

How to Edit/Publish a Drafted Post
1. Click Publishing Tools at the top of your Page.

2. Click Drafts in the left column.
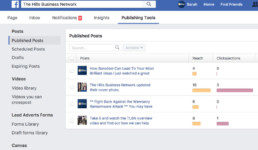
3. Click the draft you want to edit or publish.

4. Click Edit to edit the draft. To publish the draft, click the dropdown arrow and select Publish.

Business Features
Here’s how to capture business owners and use FB to build your audience through not only the business owners you connect with, but everyone THEY are connected with! Have a think about how you can do this with your current interactions with the business owners you are meeting…
Shine a light on your local business owners, and they’ll shine it right back…be interested in them for who they are as people, and their audience will be interested in you
In Person…
Before you visit the business owner for their feature we recommend you have a list of questions ready to go…
- How long have you been in business? Is it family owned?
- What makes your business stand out/special/different?
- What is your specialty product and why?
- What was the reason you got into this business?
- Best thing about owning your business?
- What is the owner passionate about?
- Do they support local causes?
- Is there anything special about their location?
- Have you used their service personally before?
Take note of the business owners personality eg. a good sense of humour, caring, friendly etc. anything you can refer to in your feature to make it more personal.
Remember to take notes during the interview.
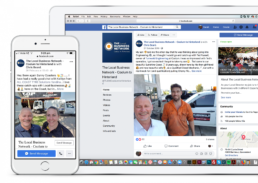
Be sure to get a selfie with the owner, this is the most important part! The photo is the first thing Facebook users will see before reading the feature.
A few tips for your selfie…
- Make sure you are holding the camera steady
- Don’t use pixelated photos
- Make sure you can see the business owner and yourself clearly
*Remember you are offering businesses a premium service when completing a business feature on them, the photo and copy need to reflect this and be of professional quality.
Don’t forget to use your Promo Planner at the end of the session either!
the interview…
Script:
I’ll turn my notes into a Business Feature and then will need to drop in to get you to have a quick look and approve it before I post it and promote you. We can edit or change anything then on the spot once I’ve got it ready. So have you got your diary there? I should be able to get this ready by ……. so how’s…… (tomorrow) or…. (the next day) ?
Use your Promo Planner to mark the date and time in your Promo Planner Diary.
TIP: If it’s not up to date with all your other appointments / commitments, then have it updated and ready… so that you can actually use it like a proper diary!
Maybe if we plan for 20-30 mins or so? I’ll type a hard copy up for you as it’s like a testimonial of me endorsing your business, so I can give you a few ideas of how others have used it in their marketing. We’ll also get it up on your FB page as I mentioned so that I’m endorsing you to your followers. Now use Promo Planner for Referrals… you should already have it out from using it as your diary!) Great, see you on…(day) … at…(time)…
writing the business feature…
To save you time we’ve put together a quick guide to get you started with your business feature.
How to Open…
At Their Place
Just had a great meeting with <@theirname>… At <@businessname> to … (e.g. To promote <name’s> business in the local business directory). (Don’t forget to tag the photo aswell!)
- Great to hear about…
- Didn’t realise that…
- Got an awesome…
- Super friendly team…
At OUR Place
(The TLBN Meeting)
- •Great session this morning with <@theirnames>…
- Heard from about… (e.g. HotSeat)
- Awesome insights from…
- Everyone smiling after hearing from…
- Huge thanks to…
*Just recognise someone personally for an insight or their personality etc
Once the Business Feature has been written the next step is The Triage Meeting…
red carpet pipeline triage meeting…
Script
“Hi….. etc…. I’ve got your Business Feature ready. Here’s a hard copy for you to have a read through. Now as you can see, it’s not long, as it’s important that we keep in short and punchy since we’re putting it on Social Media. I’ve got it all ready to post on our FB page, so if you’re all good, then we’re good to go!”
*Post the Feature from the Draft copy. Now get them to share the post to their FB page (from your post as per instructions).
“So now that you’ve got this Business Feature / testimonial, what can you do with it from a marketing point of view? Have you heard of the marketing Triangle? Would be okay to show you that as a way of working out what to do with it?”
Inviting New Likes to Like your TLBN Business FB Page
This is the core strategy to build your page audience. Keep on top of this one strategy along with frequent business features and you will eb sure to see steady page growth.
1. Below all of your posts you are able to see who has liked your post to date. These are highlighted in blue as per the corresponding picture. Click on these names.

2. A pop up box of everyone and every business page that has liked your post. On the right hand side it will have a button allowing you to ‘invite’ them to like your page. The button will be faded out and will state ‘liked’ if they already like your page. Click ‘Invite’ for every person who has not liked your page.

